Hoya Plant Care Guide
Hoya — Noun
Climbing and trailing Asian and Australian evergreen shrubs of the milkweed family.
Pronounced: Hoy — Ah
Genus: Wax plants are part of the Apocynaceae family, with over 300 recognised species in the genus.
First Use: The first known use of the word 'hoya' was in 1851.
Otherwise known as:
Porcelain Flower
Wax Plant
Waxflower
Waxvine
Fleshy-Leaved Wax Flower
Overview: Hoya are some of our favourite plants here at The Houseplant Shop. They come in a huge variety of colours, shapes, and sizes and can be grown hanging, trailing, or up a trellis. Add some old-world glamour to your home with a British classic — the wax plant.
Figures
Ultimate height
4–8 metres
Ultimate spread
1–1.5 metres
Time to ultimate height
10–20 years
Hoya lifespan
30+ years
Hoya Facts & Figures
In The Pot
Soil
Sand
Chalk
Loam
Moisture
Well–draining chunky soil
pH
Acid, Alkaline, Neutral
Out Of The Pot
Windows
South–facing or West–facing. Watch for sun stress on leaves and move back if you don't like it or if the plant starts yellowing.
Exposure
Sheltered
Hardiness
Hoya are more tolerant to cold than some houseplants, but they dislike frosts and must be brought in during low temperatures.
Temperature Tolerance: 10 °C (50 °F) – 35 °C (95 °F)
Facts
Family
Apocynaceae
Native to GB / Ireland
No — Native in China & Australia
Safety
Pet & Human Safe
Foliage & Habit
Evergreen / Climbing
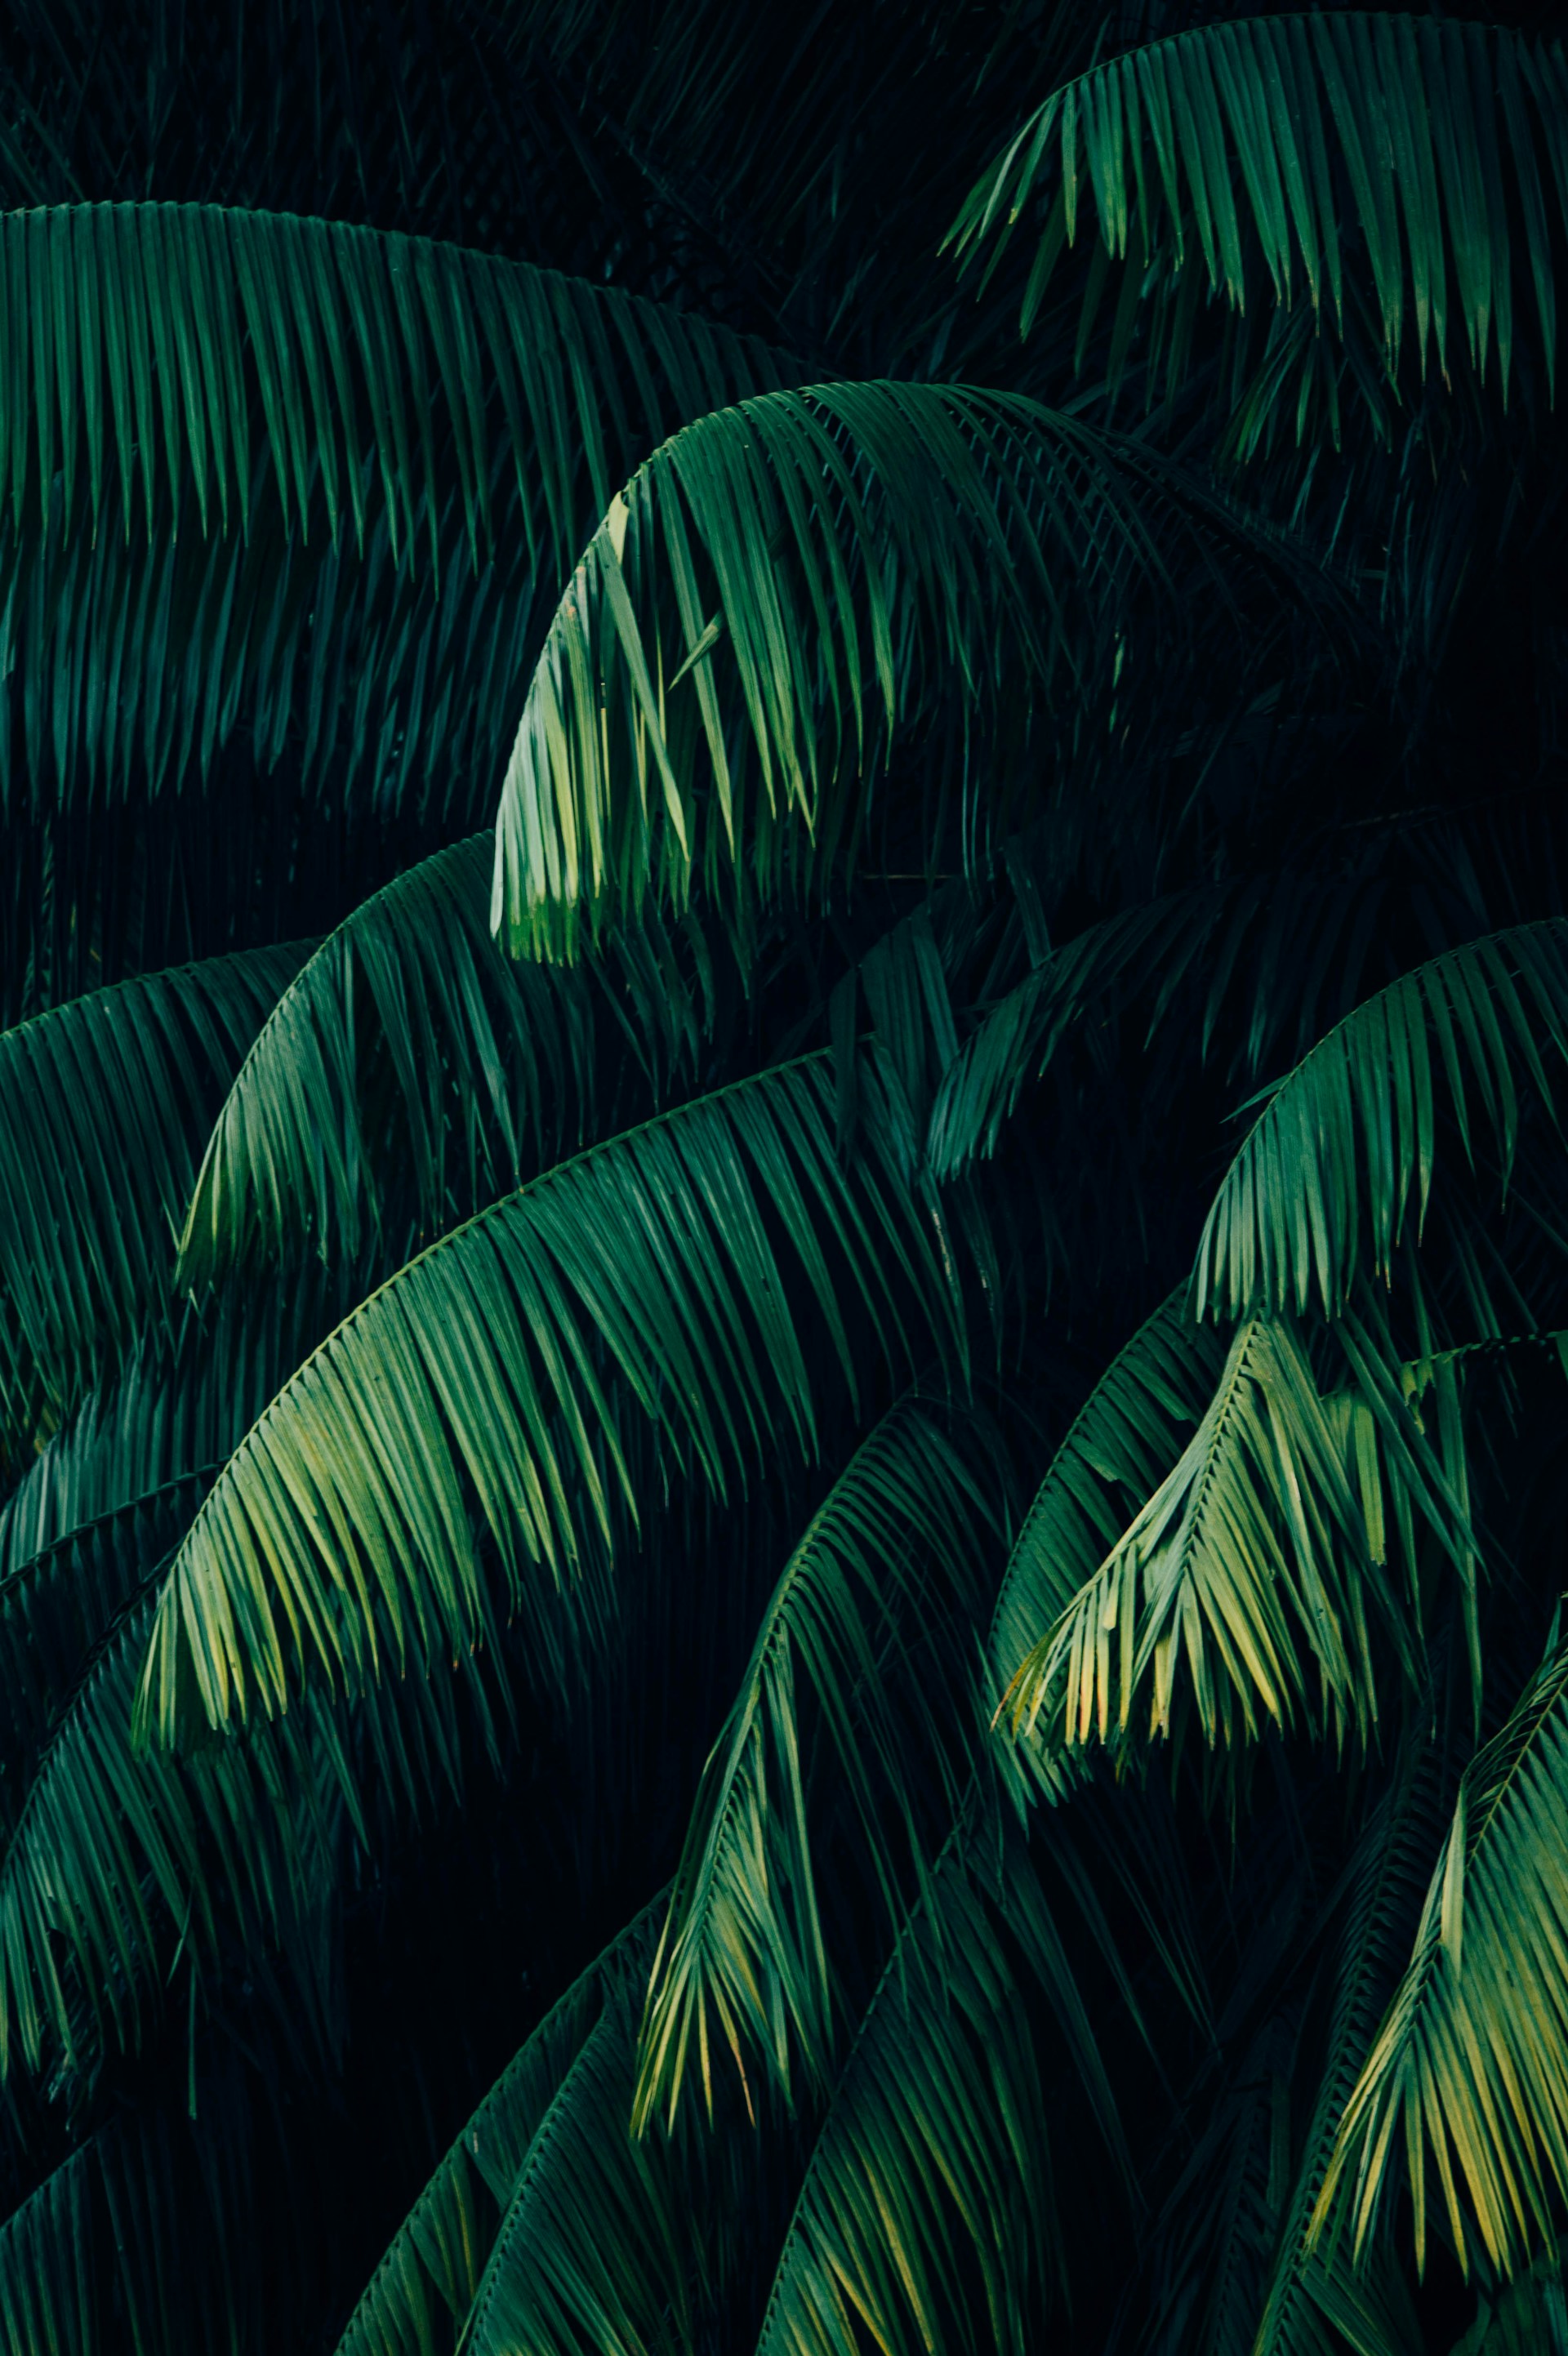
Hoya Light Requirements & Keeping Hoya In Full Sun
Hoya plants, affectionately known as wax plants, are the divas of the plant world when it comes to lighting needs. They thrive best in bright, indirect light—think of it as the perfect Instagram filter for plants. These tropical beauties enjoy basking in well-lit environments, but are quick to throw a dramatic fit if exposed to direct sunlight. Yes, they'll scorch their delicate leaves faster than you can say 'sunburn', but some varieties of Hoya like 'Sunrise' or 'New Guinea Ghost' can be considered full sun lovers and the stress signs from the plant can be desirable traits. Some people purposefully stress their Hoyas as they love the way they look, like the red stress on the Hoya Sunrise.
“Can I keep my Hoya in full sun?” you may now be asking — the answer may be yes, depending on which Hoya you're asking about. We can't tell you every Hoya that loves full sun or if you'd like the effect on the plant, but we can give you a list of the Hoyas we keep in full sun here at The Houseplant Shop. These are the Hoyas that we think look great when sun stressed and don't slow down their growth or drop leaves:
Hoya New Guinea Ghost
Hoya Sunrise
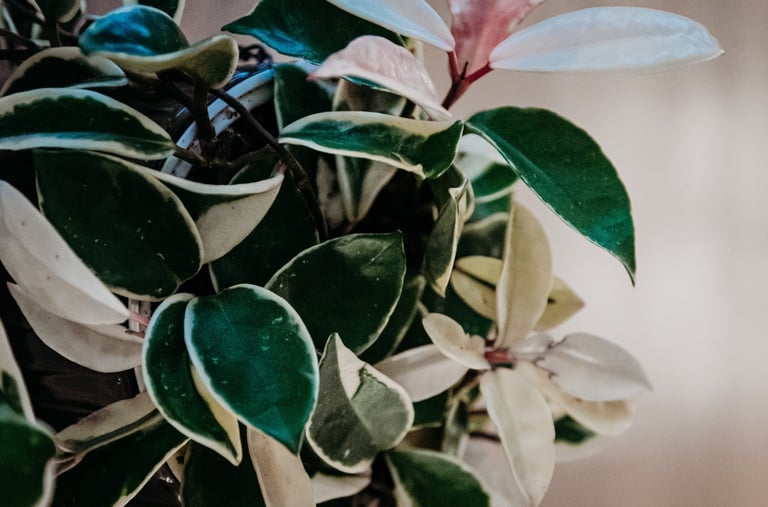
Hoya Carnosa Albomarginata / Krimson Queen
Hoya Carnosa Krimson Princess
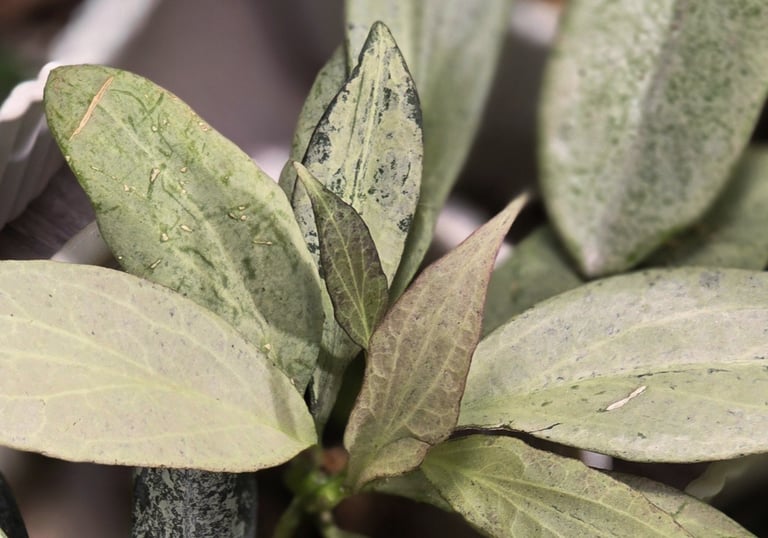
Hoya Khroniana / Lacunosa Super Silver
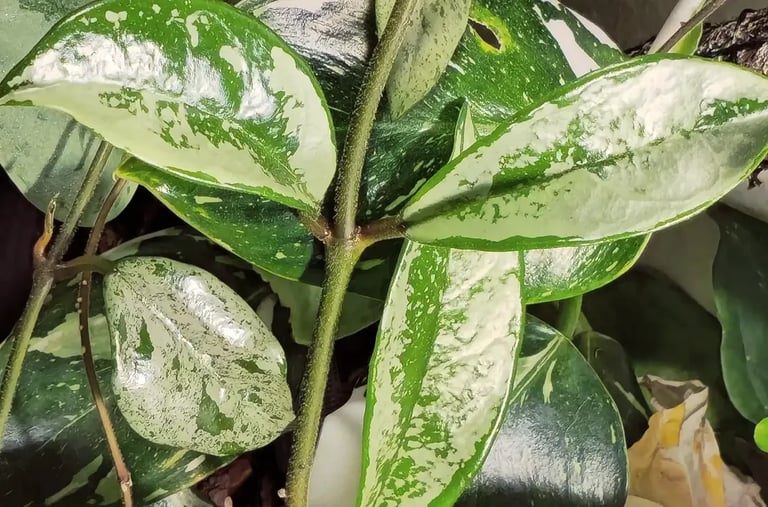
Hoya Lacunosa Silver Splash
Hoya Lacunosa Mint
Hoya DS70
Hoya Burtonaie
Hoya Burtonaie Variegata
Hoya Parasitica Black Margin
Hoya Wayettii
Hoya Wayettii Variegata
Hoya Mathilde Splash
When moving any hoya to full sun, new leaves going yellow minus any splash or variegation is a sure fire sign that too much light is too much light. Pull it back, cut back the growth and start again slower. If it doesn't work after a few attempts, your sun strength may be too high. The English sun is quite gentle, which allows us to keep lots of plants in the sun that wouldn't be possible in other countries.
For those who like to push boundaries, while Hoyas can survive in lower light conditions, they’ll sulk and refuse to bloom. So, if you’re aiming for a happy, flourishing Hoya, aim to provide it with 6–8 hours of bright, filtered light each day. And if Mother Nature isn't cooperating with your lighting needs, you can always consider a grow light.
Treat your Hoya right, and it will reward you with stunning, fragrant flowers—though it might still act like it’s doing you a favour!

Hoya Watering Needs
Hoya plants, while divas in lighting, are surprisingly low-maintenance when it comes to watering. They prefer their soil to dry out slightly between watering, making them perfect for those who might forget a watering or two. Aim to water your Hoya when the top inch of soil feels dry to the touch.
If you are struggling with knowing when to water your plant, you can buy a digital plant moisture meter to take the guesswork out of watering your Hoya. Overwatering is a big no-no and can lead to root rot, so ensure your pot has good drainage. During the growing season (spring and summer), you might water more frequently, while in winter, you can cut back. Remember, it’s always better to underwater than overwater your Hoya—think of it as the plant world's version of intermittent fasting.
Here at The Houseplant Shop, we have some really water hungry Hoyas that need top-ups mid-week, and some that can often skip a week because they don't dry out as fast. We have some of our super size mothers in our favourite tinted self watering pots. We don't use them like a self watering pot, we just use them to give them a huge drink so that the thirsty plants take a little longer to dry out. Watering the big mature plants every few days can become quite the hassle when you have over 250 mother plants like we do, so we try to make it as easy as possible for ourselves!


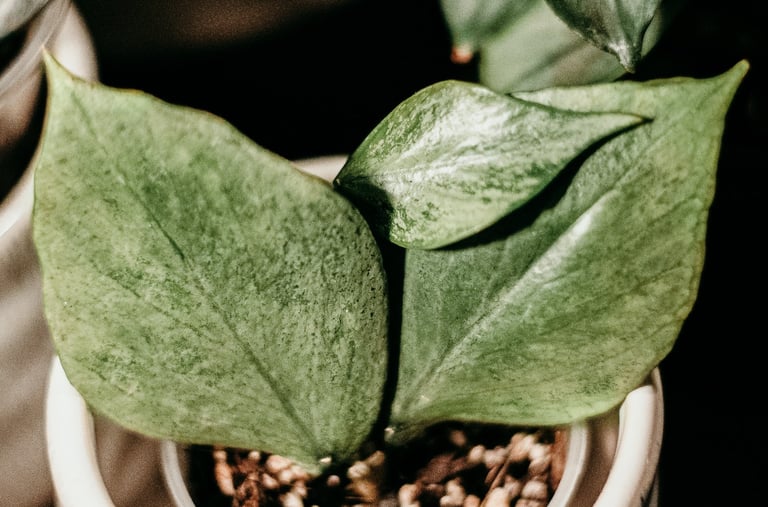

Hoya polyneura Broget
Hoya carnosa Krimson Queen
Hoya albomarginata

Hoya Humidity Requirements
Hoyas are like the tropical queens of the plant world—they absolutely thrive in moderate to high humidity. When we put them into our propagation rooms, they thrive with the higher humidity, but we appreciate this is hard to achieve in your whole home.
If you aim for around 60-80% they’ll thank you with glossy leaves and fabulous flowers. Our Tradescantia display room sits at around 67% most days. We would always recommend purchasing a 24hr average hygrometer to monitor high or low zones over the day.
If your home’s air is drier than the Sahara, especially in winter, consider giving your Hoya a humidifier. Think of it as a personal misting spa day for your plant. A humidity tray, a bowl of water or regular misting sessions can also do the trick, just don't overdo it—no one likes to feel soggy all the time. Misting can lead to bacterial infections, so proceed with caution there with Hoyas. Remember, a Hoya that feels like it's back in the tropics is a happy Hoya!


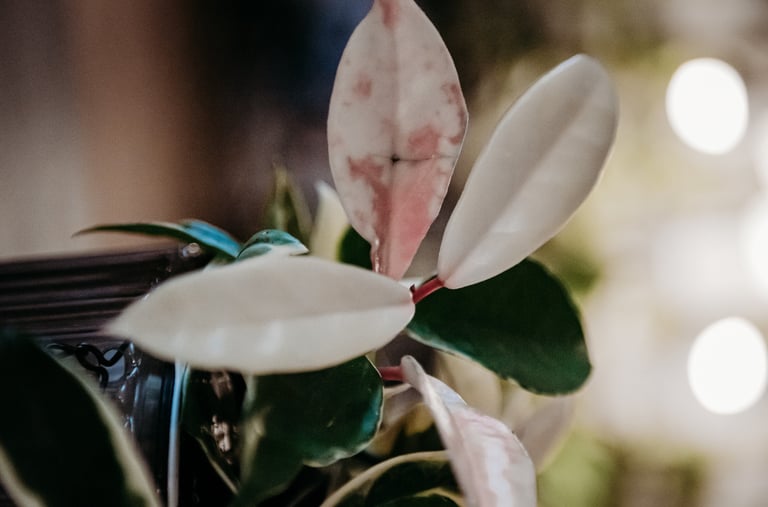

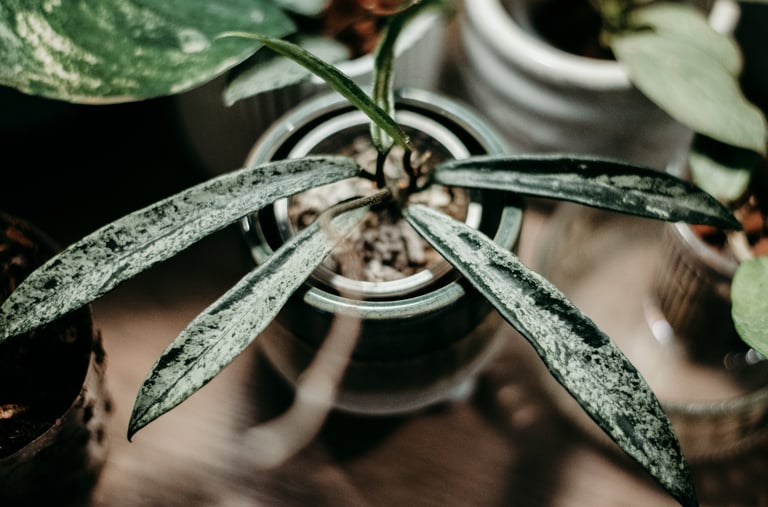

Hoya Minibelle Splash
White leaf Hoya carnosa
Hoya carnosa

The Right Temperature For Hoya Plants
Hoyas have some pretty particular temperature tastes. They love to keep things comfortably warm. Aim for a cosy range of 10 °C (50 °F) – 35 °C (95 °F), and they'll be as happy as a houseplant can be. Just don't let things get too frosty; anything below 10 °C (50 °F) might make them give you the cold shoulder.
We would always recommend purchasing a digital thermometer to monitor high or low zones over the day. Make sure you buy one with a '24-hour average' function to allow you to see where things are going right or wrong.
They’re basically Goldilocks when it comes to temperature—not too hot, not too cold, but just right. So, unless you want your Hoya to throw a plant tantrum, keep it away from drafts, air conditioners, and overly enthusiastic heaters.
Here at The Houseplant Shop, we don't stress about the temperature when placing our Hoya mother plants, we worry more about the lighting. Don't stress too much about draughts from windows or perceived cold pockets unless you can see a difference in your plant after moving it to a new spot. Usually, any changes are best made in the summer, so the plant has time to get used to the move gradually as the seasons change, rather than in one cold night flat.

Choosing Soil For Your Hoya & Potting Them Up
Hoyas aren't picky eaters, but they do have a taste for the finer things in life—well-draining soil, that is. Think of it as the plant world's equivalent of a well-aerated soufflé. A mix that's light, airy, and drains like a dream is the key to keeping your Hoya's roots happy and rot-free.
Easy DIY Soil Mix Recipe For Hoya Plants: For a basic soil mix, add 1 litre of coco coir, 1 litre of perlite, 1 litre compost and 1 litre orchid bark. Feel free to scale this up until you have enough litres to fill your new pot.
Advanced DIY Soil Mix For Hoya: Our Hoya soil recipe uses a more complicated chunky mix — 3 litres of coco coir, 4 litres of perlite, 4 litres of orchid bark, 3 litres of Lecca balls, 1 litre of worm castings. You can also add 1 litre each of: pumice, activated charcoal and zeolite (unscented).
Soil Mix Components: If you can't find these ingredients locally or if you are the online shopping type, you can buy the soil mix components online here: Small Coco Coir Pack — Bulk Coco Coir Pack, Orchid Bark, Pumice, Horticultural Sand, Horticultural Grit, Worm Castings, Perlite, Lecca Balls, Activated Charcoal, Zeolite
Soil vs Soilless Mix For Hoya Plants: If you've ever had a pest infestation, then you may be tempted to grow plants hydroponically without any soil at all so that pests cannot survive in it. Coco Coir is the bridge between hydro and soil, giving you the best of both worlds. Coir has natural antifungal properties that help prevent root rot, furthermore it's completely inert which means that pests cannot survive in it unless you keep it really wet until it rots. You can even pasteurise the coir before use to ensure no hitch-hikers have jumped in during transport. You can add perlite or vermiculite to make it more chunky, but avoid adding any organic material that could decompose and attract pests. Be sure to stick to a good houseplant fertilizer, as coco coir has no natural nutrients to feed your plant.
When it comes to potting up your Hoya, think of it as moving a teenager out of their tiny room into a slightly bigger one—not too big, just enough to stretch their roots. Hoyas appreciate a snug pot, so resist the urge to put them in a mansion when all they need is a cosy studio. Use a well-draining mix (because nobody likes soggy feet) and make sure your pot has drainage holes—consider it essential plumbing. Repot every couple of years, or when roots start staging an escape attempt through the bottom of the pot. It's less of a dramatic makeover and more of a sensible upgrade, like going from a bicycle to a scooter.


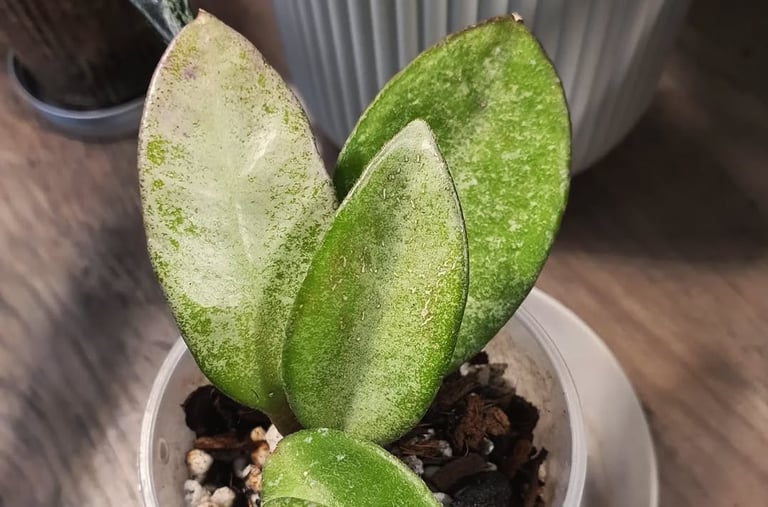


Hoya Nova Ghost
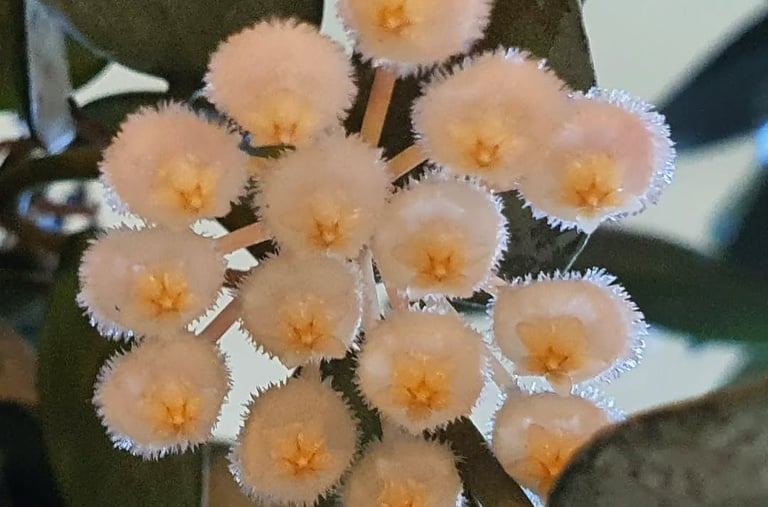
Hoya lacunosa Super Silver Flower
Hoya lacunosa

The Right Fertilizer For Hoya & How Often To Feed
Feeding your Hoya is a bit like taking it out for a fancy dinner—it appreciates the gesture, but only if it's the right kind of meal.
Opt for a balanced, water-soluble fertilizer, think of it as a well-rounded three-course meal with a Hoya approved N-P-K ratio of 10-10-10 or 20-20-20.
Feed your Hoya every 4–6 weeks during the growing season, which is spring and summer. In winter, when your plant is taking its much-deserved beauty rest, you can skip the fertilizer—no one wants to eat a five-course meal right before bed, right?
Here at The Houseplant Shop we exclusively use Ionic Formulex, and we're not sponsored, we just love their plant food! We would always recommend that brand to our customers as it's what the plants you are buying are used to and were grown up enjoying.
Remember, a little goes a long way. Overfeeding can lead to more drama than a soap opera, with burnt roots and sad leaves. So, keep it light, keep it balanced, and your Hoya will be more than satisfied with its plant fine dining experience.
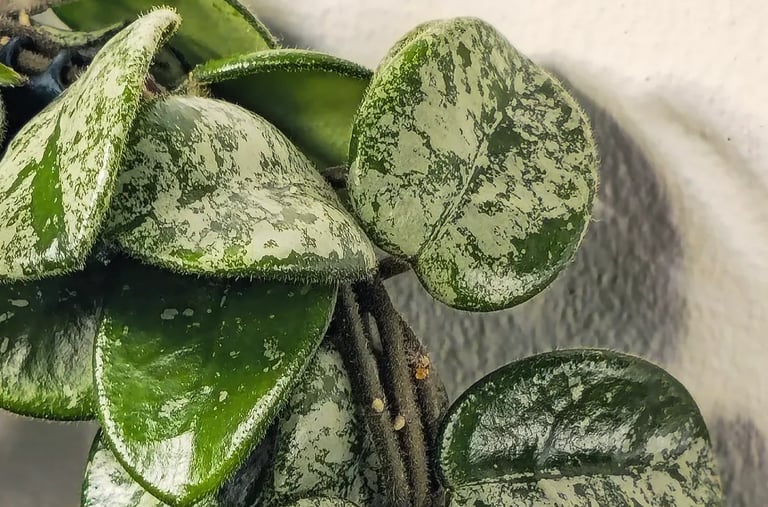


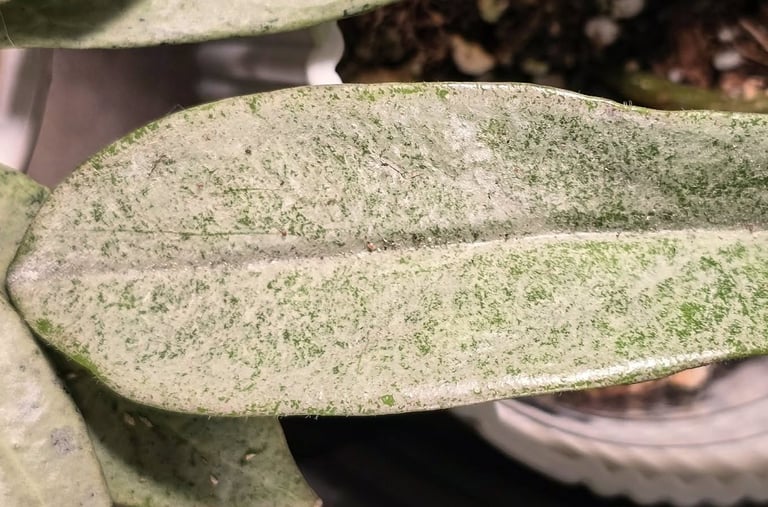

Hoya Mathilde Splash
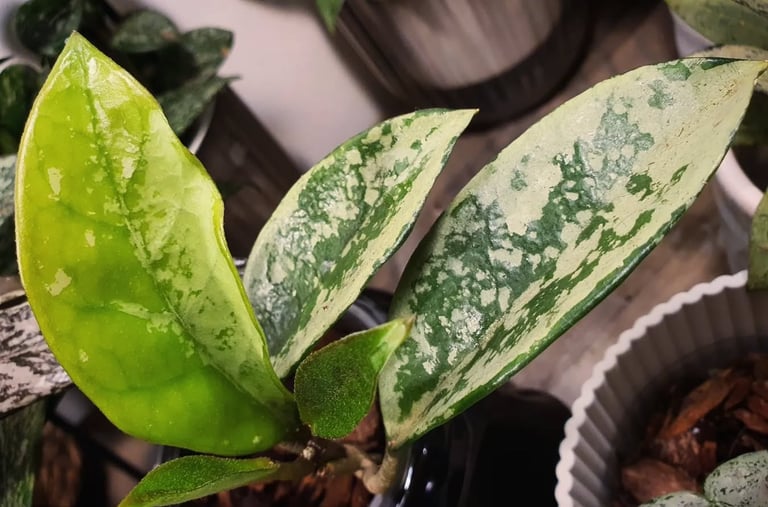
Hoya AH074
Hoya Grey Ghost

How To Prune Hoya Plants
Pruning your Hoya plant, also known as Wax Plant, is essential to encourage healthy growth, maintain its shape, and promote flowering. Pruning helps to remove dead or damaged leaves, and it helps to manage the overall plant size. Hoyas can get meters long without pruning — we have a few here at The Houseplant Shop office! Pruning stimulates new growth, peduncles, and blooms. It can also prevent the plant from becoming too leggy.
Pruning can help maintain a fuller appearance by promoting side branching. If you hard prune a Hoya so that there aren't many leaves left, the plant usually starts to concentrate on side branching, which can help to give a fuller appearance when it grows back. If you're wondering how to make your Hoya look more bushy, dense and full, then this is the method to achieve that new look you want. The best time to prune your Hoya is in the spring or early summer, during its active growing season. This ensures the plant can quickly recover and continue to thrive.
How to Prune Hoya Plants:
Tools Needed: Use clean, sharp scissors or pruning shears to avoid injuring the plant. Disinfect your tools with rubbing alcohol before starting.
Remove Dead or Damaged Leaves: Trim off any yellow, brown, or wilted leaves at their base to keep the plant healthy and attractive.
Trim Long Vines: If the plant is becoming too large or leggy, trim back the longest vines. Make cuts just above a node, as this is where new growth will emerge.
Encourage Bushier Growth: Prune the tips of the vines to encourage the plant to branch out and become fuller. Pinching back the tips can also promote more flowering.
Avoid Cutting Hoya Flower Spurs, Otherwise Known As Peduncles
Hoya plants produce flowers on specialized structures called spurs or peduncles. Be careful not to remove these spurs, as they will produce flowers year after year. If you remove a peduncle, it won't grow back again on that node, so you won't get more flowers from that part of the stem again. The plant may then produce more further up the stem. If you don't like the smell of your Hoya flowers you can cut them all off each year which will drastically reduce flowering, although you may still have a few new ones make an appearance elsewhere on the plant.
Post-Pruning Care:
After pruning, water your Hoya lightly and place it in bright light. Keeping the plant in ideal conditions will help it recover quickly and continue to grow and bloom. Pruning your Hoya plant is a simple yet effective way to keep it healthy, manageable, and attractive. With regular trimming, your Hoya will reward you with lush growth and beautiful flowers.

Propagating Hoya Plants
Propagating Hoya plants, also known as Wax Plants, is a rewarding process that allows you to multiply your collection or share plants with friends. Here’s a detailed guide to help you successfully propagate your Hoya with either stem cuttings or air layering.
How To Propagate Hoya Plants — Water or Soil Propagation Method
Select a Healthy Vine: Choose a healthy vine with at least 2–3 nodes and a few leaves. Nodes are the points where leaves and roots can grow. Top cuttings will grow faster than mid-cuttings as the growth point is already activated.
Cut the Vine: Using clean, sharp scissors or pruning shears, make a cut just below a node. The cutting should be about 4–6 inches long. Don't worry about cutting off the excess stem before the leaf like with other aroids, Hoya's actually root from anywhere on the stem. We like to leave as much stem as possible on our cuttings, as this provides more surface area for roots to grow and gives the cuttings a better start in life.
Remove Lower Leaves: Remove the leaves from the bottom one or two nodes, leaving the top leaves intact. The more leaves you can leave on your cutting, the faster it will grow and produce more leaves.
Optional Rooting Hormone: Dip the cut end of the stem in rooting hormone powder. This can help speed up the rooting process, but it is optional. You can use seaweed extract for plants as an alternative. It is both useful to soak cuttings in before putting them in water and as a weak feed that promotes faster root growth.
Place in Water or Soil: For water propagations, place the cutting in a glass of water, ensuring at least one node is submerged. Change the water every few days to keep it fresh. For soil propagations, plant the cutting in a pot with well-draining soil, burying the stem and node(s) where the leaves were removed. Keep the soil moist but not waterlogged.
Provide Bright, Indirect Light: Place the cutting in a location with bright, indirect light. Avoid direct sunlight as it can stress the cutting.
Wait for Roots: In water, roots should start to form within a few weeks. If in soil, you can gently tug on the cutting after a few weeks to check for resistance, indicating root growth.
Transplant: Once the cutting has developed a healthy root system, transplant it into a larger pot with well-draining soil.
Air Layering Hoya Propagation:
Select a Healthy Vine: Choose a long, flexible vine from the parent plant. Top cuttings will grow faster overall as their growth point is already activated, so if speed is of the essence, choose the ends of the stems that are already actively growing.
Prepare the Soil: Fill a small pot with well-draining Hoya appropriate soil and place it next to the parent plant.
Bend the Vine: Bend the selected vine down to the soil in the new pot without detaching it from the parent plant.
Bury a Node: Secure a node (where a leaf has been removed) in the soil using a small hook, pin, or by placing a small stone over it. Hoya can root from the stem as well as nodes unlike most aroids, so don't worry about cutting off excess stem as this will just provide extra surface area for the plant to produce roots. We purposefully leave as much stem on as possible when taking Hoya cuttings.
Keep Soil Moist: Water the soil lightly to keep it moist, but not waterlogged. Never let your cutting sit with wet feet.
Provide Bright, Indirect Light: Place the new plant in bright, indirect light. Put the mother plant back where it normally sits, as moving it will cause more stress.
Check for Roots: After a few weeks, check for root development by gently tugging on the vine. If it resists, roots have formed. We love to use clear pots here at The Houseplant Shop so that we can monitor our root growth and health at a quick glance.
Cut and Transplant: Once the roots are well established, cut the vine from the parent plant and continue to care for the new plant in its pot. You will see a drop-off in visible growth as the new plant concentrates on building a root system. After a few weeks you should see the foliage start to grow. If you don't go back through the Hoya care guide and make sure that you have the care requirements right.
Tips for Successful Propagation:
Healthy Parent Plant: Ensure the parent Hoya is healthy and free from pests or diseases. If the mother plant isn't looking the best, wait to take propagations and concentrate on getting your Hoya back to full health.
Clean Tools: Always use clean, sharp pruning tools to prevent disease transmission. Always wipe your blades in-between every cut to prevent the transmission of bacterial and fungal infections and diseases.
Patience: Propagation takes time. Be patient and provide consistent care. Never let them sit with soggy feet, and make sure they get lots of light.


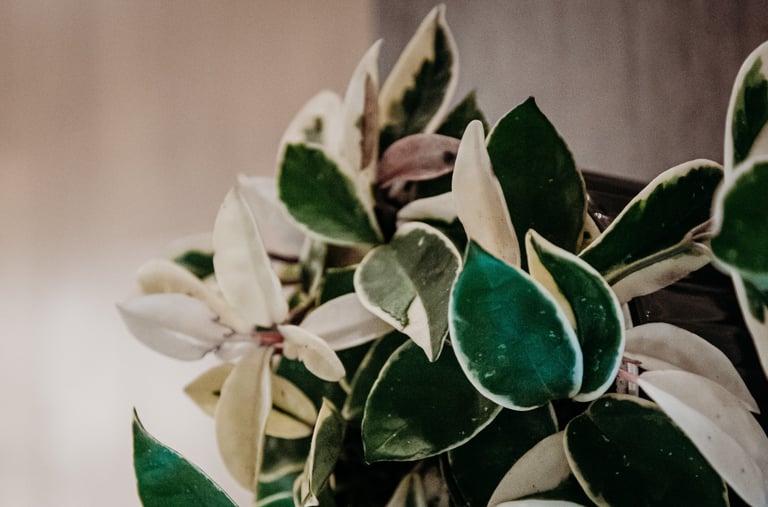

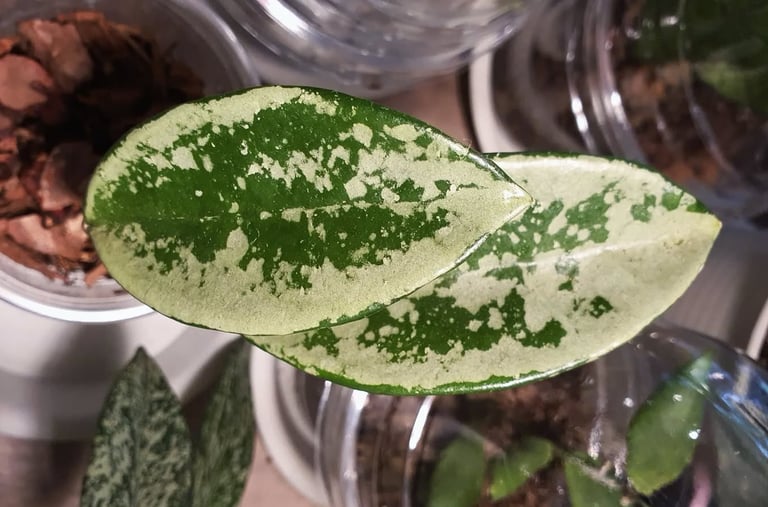

White Hoya Flower
Hoya Krimson Queen
Hoya AH074

Hoya Pests & Problems
Even the most carefree of houseplants can run into a few issues. Here's how to tackle common pests, unwanted guests and frequent problems that may affect your Hoya plant.
Common Hoya Pest Species
Spider Mites: These tiny pests can spin small, discrete webs towards the base of a plant, and they suck the life out of it until it dies. They have a 2-4 week life cycle, making them one of the shorter living pests that invade our houseplants. Spider mites can often be found by spotting small discrete webs in the lower parts of your plants that look like a spider may have moved in — bad news — 9/10 times it's not a spider, but you'll wish it was.
Aphids: Often unwanted guests brought in from our gardens or intruders who fly through our windows, aphids can be tricky to get rid of once established due to the life cycle of an adult aphid. Eggs are typically laid within the plant itself and are impossible to remove. Always be vigilant for eggs hatching after 30 days, and continue treatment for several full adult life cycles. Consider using a systemic pesticide to provide a 4-week window of treatment.
Mealy Bugs: These fluffy white bugs love hiding in leaf joints. They look kind of like large fluffy lice. They have very visible legs and antennae, and are visibly hairy, ranging from the size of a pin head to the size of a small woodlouse. Mealy bugs can be very difficult to get rid of due to laying eggs inside the stems, in the folds of leaves and within the soil where you can't see them. It can be helpful to change your Epipremnum's substrate if you have a bad mealy bug infestation. The life cycle is 4–7 weeks from egg to adult, so you need to be vigilant for eggs hatching out after the first treatment, and you must keep reapplying pesticides. Consider using a systemic treatment to give you a 4-week window of assistance with your pest infestation. If you can't re-apply the systemic, resort to other listed methods until you can re-apply.
Scale Insects: These hard-shelled pests can be tricky. Solution: Scrape them off gently with a soft brush and spray the plant down with our DIY pesticide listed below.
Best Pest Treatments For Hoya Plants
Natural Leaf Wipe: As a preventative and spot treatment, you can wipe leaves with undiluted pure neem oil to give them a gentle shine whilst deterring any pests.
Instant Death: Dab visible plant pests with a cotton swab dipped in rubbing alcohol to send them packing. This is a tried and tested classic method. If the pests don't die instantly when they're drenched in the liquid, or they are large like scale insects, pick them off the plant and put them into a glass with enough alcohol to completely cover them. Few creatures can survive being submerged in pure alcohol.
Natural Homemade Pesticide: If you’re having issues, we would always recommend an insecticidal soap based approach as a first line of defence, as it's much more gentle on your plants. To be effective, the pests must come into contact with the liquid. To make a simple DIY neem oil and soap recipe, mix 1 teaspoon of neem oil with 1/2 teaspoon of insecticidal soap and 1 litre of water. Apply with a spray bottle, ensuring all parts of the plant are covered in the pest spray. You can re-apply this solution every few days without upsetting your plants until there's no more signs of pests.
Natural Pesticide: If you prefer a premixed solution, you can purchase concentrated neem and soap solutions like SB Plant Invigorator that you dilute and apply with a spray bottle. Make sure you follow the directions on the back of the bottle. This premixed natural pesticide is a concentrated formula of horticultural soap and neem oil to help remove pests from your plants naturally and without the use of harsh chemicals. Sprays like this often have added nutrients, so you cannot reapply it every few days as it could burn the plant leaves.
Chemical Pesticide: For a tougher approach, we recommend a systemic pesticide to give the plants a 4-week window of protection to kill all stages of the pest's life cycle without repeated treatments. The only systemic pesticide available in the UK currently is Acetamiprid concentrate. This is known to cause some distortion in new growth immediately after application. To fix Acetamiprid distorted leaves, simply cut the new growth off back to the last healthy point, and your plant should grow back with normal leaves.
Common Problems: Diagnosing and Fixing Hoya Plant Woes
Yellow Leaves: If your plant has yellowing leaves, it might be overwatered. Solution: Check the soil—if it's soggy, let it dry out and reduce watering. Consider purchasing a digital water meter to take the guesswork out of watering. Also, make sure your pot has good drainage and that your soil recipe is chunky and airy.
Brown Leaf Tips: This could be a sign of low humidity or under watering. Monitor your humidity, and if needed, increase your humidity by using a humidity tray to increase localised humidity. We don't recommend regularly misting your plant as this can lead to fungal issues. If you proceed, do so with caution and only spray the leaves at night to allow them time to dry before light hits them in the morning.
Leggy Growth: If your plant looks more vine than leaves, it might need more light. Most plant species start to look bad when they're not getting their needs met — it's one of the first signs of lighting issues. Try moving your plant to a brighter spot or adding supplemental LED lighting.
Root Rot: If the roots are black and mushy, your plant might be suffering from root rot due to overwatering. Cut off the affected roots and repot the plant in fresh soil.
Loosing Leaves: If your houseplant is loosing leaves, it could be nothing to worry about and simply a part of the ageing process. As plants make new leaves, they naturally shed the lower leaves that don't get as much light. It doesn't make sense economically for the plant to put all of that energy into a leaf that can't photosynthesise as well as newer ones. Plants love efficiency. The dead leaves go yellow as the plant pulls all the nutrients out of it to recycle for newer leaves. It can be beneficial to leave the dying leaves on the plant until they have gone fully yellow to allow maximum nutrient recycling. If your plant is throwing off more than one or two leaves at a time, then you may need to have a look at your plant care or your plant's environment. One of the biggest causes of premature yellowing of leaves is overwatering or soil that's too dense and stays too wet. It could also be a nutrient deficiency causing the plant to pull the nutrients that it needs from older leaves, causing them to die off. If you don't have a feeding schedule for your plants, it may be worth adding a good quality fertilizer to your plant care routine.

Hoya Varieties
Welcome to the world of Hoyas, where every plant is a unique character in the botanical soap opera! From the heart-shaped romantics to the curly-leaf eccentrics, there’s a Hoya for everyone. Let’s meet some stars of the Hoya kingdom:
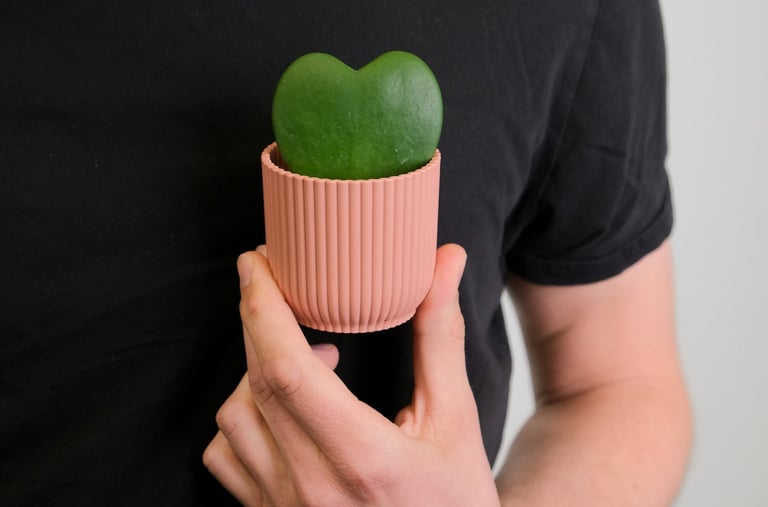
Hoya Kerrii (Sweetheart Hoya): With leaves shaped like adorable little hearts, this variety is perfect for Valentine’s Day—or whenever you need to remind someone they’re loved. It’s the plant equivalent of a box of chocolates.
Hoya Compacta (Hindu Rope): This one’s got a hairstyle Elvis would envy, with its curly, twisting leaves. It’s like having a plant that moonlights as a rock star.
Hoya Pubicalyx: Known for its dark, dramatic foliage and clusters of flowers that look like they've stepped out of a gothic novel. Perfect for anyone who thinks plants should come with a little mystery.
Hoya Obovata: Big, round leaves with a speckled pattern that could rival any polka dot. It’s the life of the party, always looking like it’s ready for a night out.
Hoya Australis: This Aussie native is tough and adaptable, kind of like your favourite backpacking buddy who’s seen it all and still looks fabulous.
Hoya Linearis: With its long, slender, fuzzy leaves, it’s like the runway model of the plant world—tall, elegant, and a bit of a show-off.
Hoya Bella: True to its name, this “Beautiful Hoya” has dainty flowers that look like they belong in a fairytale garden. It’s the belle of the ball, always stealing the spotlight.
Hoya Carnosa: The classic Hoya, known for its resilience and clusters of star-shaped flowers. It’s like the reliable best friend who’s always there when you need them.
Hoya Retusa: With thin, grass-like leaves that defy the traditional “leaf” concept, this one’s the rebellious artist in the Hoya family.
Hoya Macrophylla: Featuring large, veined leaves that look like they belong in a botanical illustration. It’s the academic of the group, always looking a bit more sophisticated.
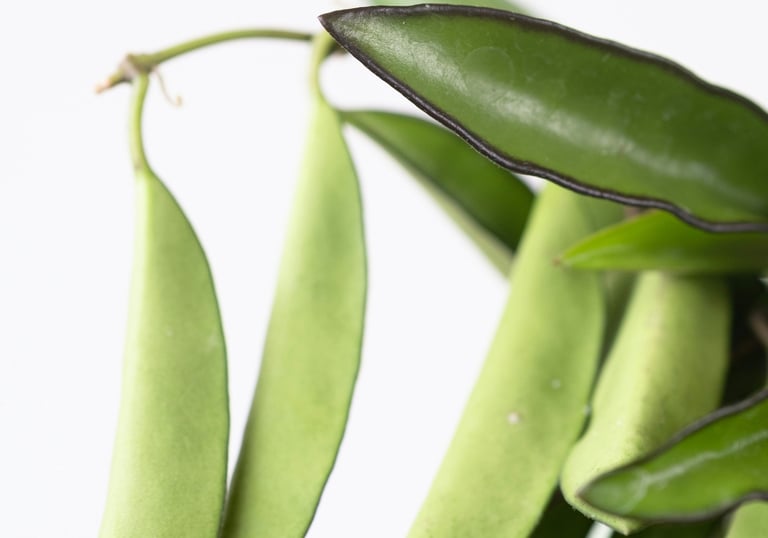
Hoya Wayetti: This variety is often called china beans, due to its long oblong leaves. We love this one here at the nursery!
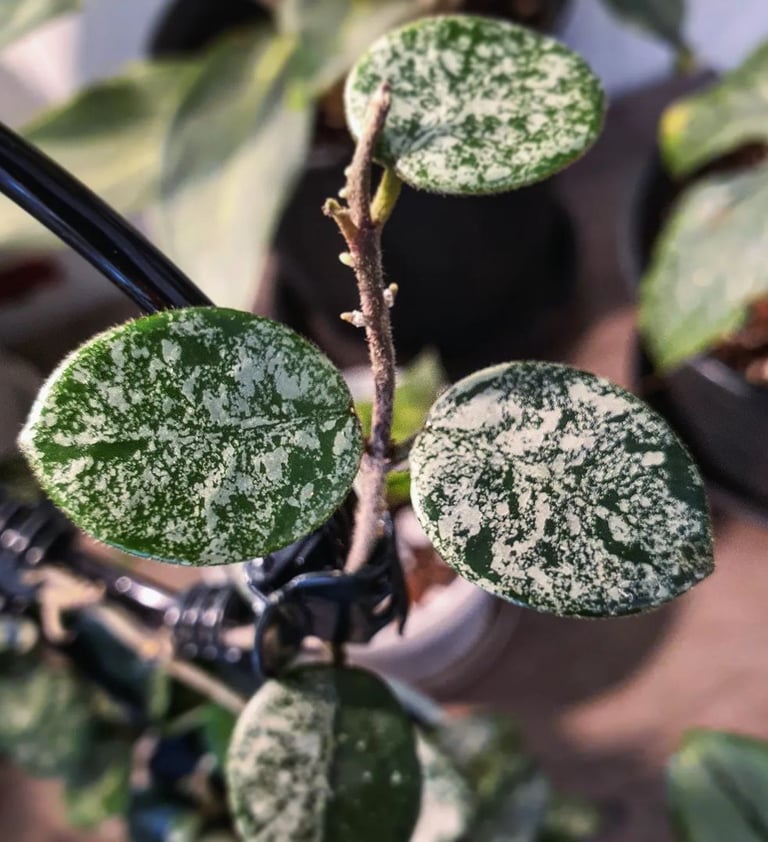
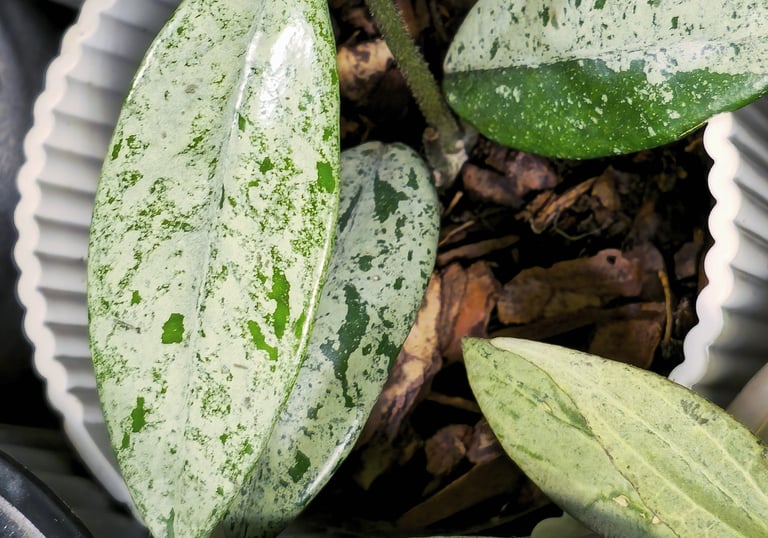
Hoya Mathilde: This Hoya is another one of our favourites, for it's button sized small leaves, and it's stunning silvery splash that increases with high lighting!


10 Hoya Fun Facts
Fragrant Flowers: Hoya flowers are not only beautiful, but also often very fragrant, with scents that can range from sweet and floral to spicy.
Long Lifespan: With proper care, Hoya plants can live and bloom for decades, making them a long-term addition to your indoor garden.
Slow Growers: Hoyas are known for their slow growth, especially in their early years. Patience is key when growing these plants.
Climbing Habit: Many Hoya species are vine plants that can climb or trail, making them perfect for hanging baskets or trellises.
Varied Leaf Shapes: Hoya leaves come in a variety of shapes and sizes, from heart-shaped to round, and can be smooth, fuzzy, or even crinkled.
Edible Nectar: The nectar of Hoya flowers is edible and was sometimes consumed by indigenous people as a sweet treat.
Water Storage: Some Hoyas, like Hoya Kerrii, have thick, succulent-like leaves that store water, helping them survive periods of drought.
Symbol of Love: Due to its heart-shaped leaves, Hoya Kerrii is often given as a symbol of love and affection, especially around Valentine's Day.
Epiphytic Nature: Many Hoya species are epiphytes, meaning they naturally grow on other plants or trees, deriving their nutrients from the air and rain.
Wide Distribution: Hoya plants are native to tropical and subtropical regions, including Asia, Australia, and the Pacific Islands, making them highly adaptable to various environments.


Hoya Overview
Hoyas come in a variety of forms, from the heart-shaped leaves of Hoya Kerrii (perfect for saying "I love you" without the mushy card) to the twisted, rope-like foliage of Hoya Compacta (which looks like it’s perpetually having a bad hair day, but in a chic way). They’re the perfect mix of low-maintenance and high-fashion.
Oh, and did we mention they bloom? When a Hoya decides to flower, it puts on a show with clusters of sweetly-scented blooms that can turn any plant parent into a proud paparazzo. However, like any true star, Hoyas might make you wait for their grand floral debut—think of it as building suspense.
In summary, Hoyas are the perfect houseplant for those who enjoy a bit of drama without the high maintenance. They’re resilient, stunning, and have just enough quirks to keep things interesting. So go ahead, invite a Hoya into your home, and watch it steal the spotlight with minimal effort.
Edited & Fact Checked By: The Houseplant Shop
Article Published: 12th November 2024

About The Houseplant Shop:
Independent Houseplant Nursery
Horticultural Specialists
Managing Over 250 Houseplant Species Onsite
Over 15 Years Of Experience With Horticulture
As head of horticulture, Sarah manages the care and propagation of over 250 plant species at a commercial houseplant nursery. With over 15 years of experience in horticulture, specializing in houseplants, Sarah has extensive expertise in plant biology, soil science, and integrated pest management. She continually reviews and integrates the latest research into her plant care guides. Dedicated to educating others, Sarah has spent years diagnosing houseplant care issues and sharing her real-world experience. Her commitment to scientific accuracy and helping people diagnose plant health issues has established her as a trusted authority and expert in the field.
The Houseplant Shop is a dedicated houseplant nursery, growing all of their own stock from their botanical library of over 250 houseplant species. The nursery staff are horticultural experts who have dedicated their lives to cultivating and nurturing over 250 different species of houseplants, focusing on Aroids, tropical plants, and NOID collectables. All their plants are grown in house in Britain to be more environmentally friendly. The nursery is proud to have been featured by the Royal Horticultural Society (RHS) as a 100% peat free nursery.
Recommended Further Reading:
People also looked at: Houseplant Pest Treatments, Plant Care by Species.
How We Reviewed This Article:
Our horticultural experts continually monitor the houseplant space, and we update our articles when new information becomes available. We are committed to providing current and reliable information. If you have some information that you think would be helpful in this article, we'd love to hear from you. Our team works hard to revise articles for factual accuracy, and we regularly update our pages with new information, techniques, tips, images, trade secrets, and real world experience from the team here at the houseplant nursery. You can find a list of the article updates below.
Written By: Sarah Brooks, Head of Horticulture
Article Received: 8th November 2024
Copyright: The Houseplant Shop (https://thehouseplant.shop)
The use, distribution, or reproduction is permitted, provided the original copyright owner is credited and that the original publication on this website is cited with a direct link to the article, only with these terms. Any other use is not permitted.
List of Article Updates:
20th December 2024: Minor UI updates
Author Bio:
Author: Sarah Brooks,
Head of Horticulture at The Houseplant Shop

